
Introduction
Professional filmmakers face a big challenge today. Indeed, making AI video look real is very hard. Enterprise studios need perfect camera physics. Therefore, they want to protect their brand and look professional.
However, default AI outputs often look flat. Consequently, they lack life and energy. This lack of depth ruins the visual flow across a project. Naturally, viewers notice when shots do not match.
Fortunately, gen-3 ai video models changed this workflow in 2026. Now, creators can master Depth of Field (DoF) easily. Additionally, they have amazing precision at their fingertips.
This guide will teach you how to prompt perfect camera settings. As a result, your Video Generation pipeline will meet strict studio rules. By the end, you will control virtual cameras like an expert.
The Basics of Virtual Cameras in Gen-3 AI Video
To master gen-3 ai video, you must learn basic cinematography. First, real-world cameras use specific lenses and sensors. The distance between the lens and the subject changes the focus.
In the digital world, Virtual Cameras copy this exact behavior. Therefore, they simulate real glass and light. This makes your AI video look like it was shot on a real movie set.
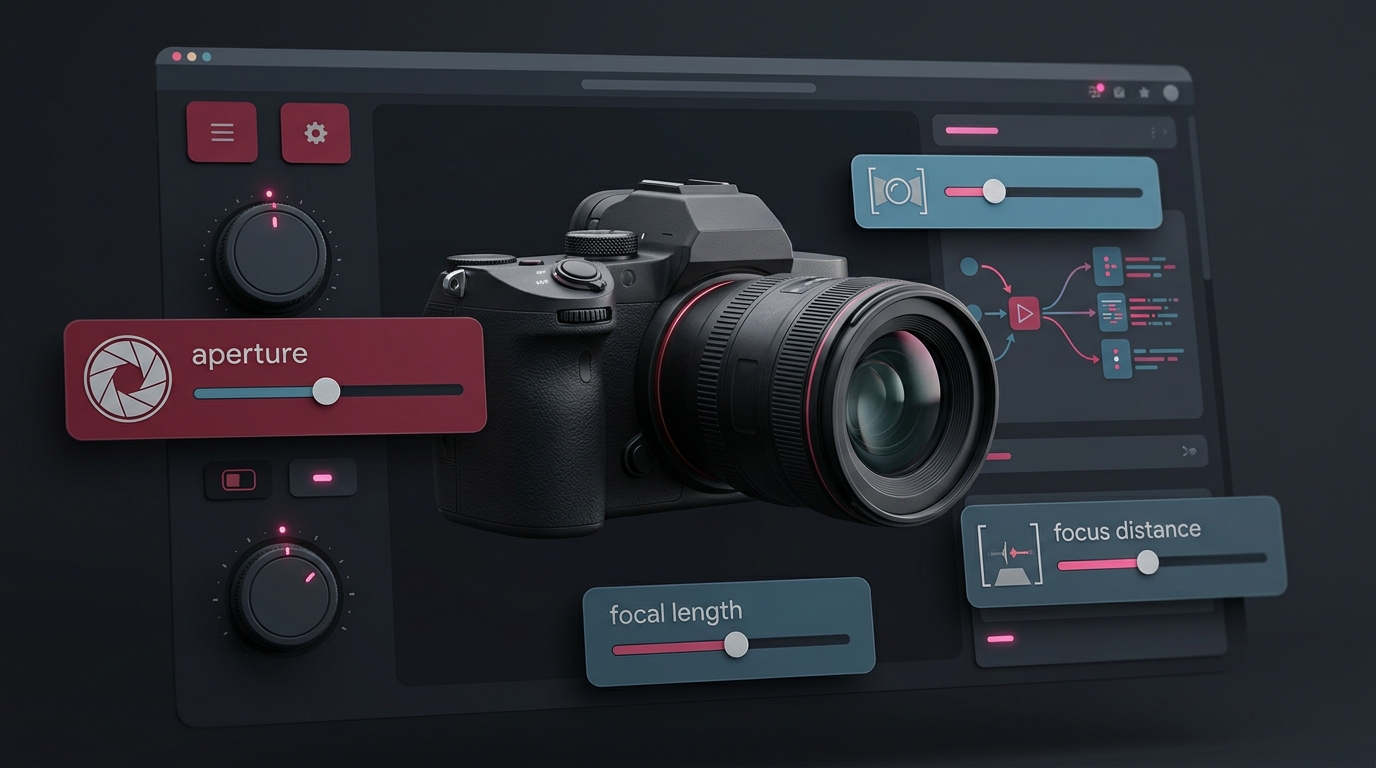
According to recent documentation, virtual camera controls are very powerful. They allow precise changes to focal length. You can adjust optical physics right inside the AI video engine. For more foundational tips, check out our comprehensive cinematography guide.
As a result, enterprise creators do not have to guess. They do not have to hope for a good result. Instead, they can type in exact mathematical settings. This guarantees a perfect shot every time.
Key Factors in Optical Physics
Several elements control how a scene looks. Therefore, you must define these variables in your daily workflow. Here are the most important settings to know:
- Focal Lengths: Choose a 50mm lens for natural portraits. Use a 14mm lens for wide establishing shots. A 200mm lens is great for sports.
- Aperture: An f/1.4 setting creates a blurry background. An f/11 setting keeps everything sharp and in focus.
- Sensor Size: Full-frame simulations look the most cinematic. Crop sensors look more like home videos.
Consequently, treating the AI engine like a real camera is smart. It ensures professional and compliant results.
Descriptive Prompting for Gen-3 AI Video Depth of Field
Writing the right prompt is vital for enterprise work. Specifically, Descriptive Prompting establishes the baseline look for the AI. You must use specific lens and shutter words.
However, you must avoid vague terms. Do not just say “blurry background.” The AI does not know what that means mathematically. Instead, you should use exact optical language.
For example, a prompt should name the lens type. You might write, “Shot on 85mm prime lens at f/1.2, shallow depth of field, sharp focus on subject’s eye.”
This tells the gen-3 ai video model exactly what to do. Consequently, it understands the math required to build that image. The result will look like a real photograph.
Testing Your Shots
Before you render a full video, you should test your frames. Indeed, video rendering costs a lot of money and time. Testing saves both.
Additionally, you can transition between photography mode and videography mode. This helps you test settings before the final animation. It helps dial in the exact optical look you need.
This method saves studios thousands of dollars in computer costs. Platforms like Higgsfield Cinema Studio are great for this workflow. By locking in the still frame, you guarantee the Optical Physics are correct. After that, you can safely generate the full video.
Advanced Camera Controls for Gen-3 AI Video
Static scenes are easy to prompt. However, adding movement brings new technical challenges. Motion Blur is vital for realistic Cinematic Framing.
Without motion blur, moving subjects look bad. They appear disjointed and robotic. The human eye expects to see blur when things move fast.
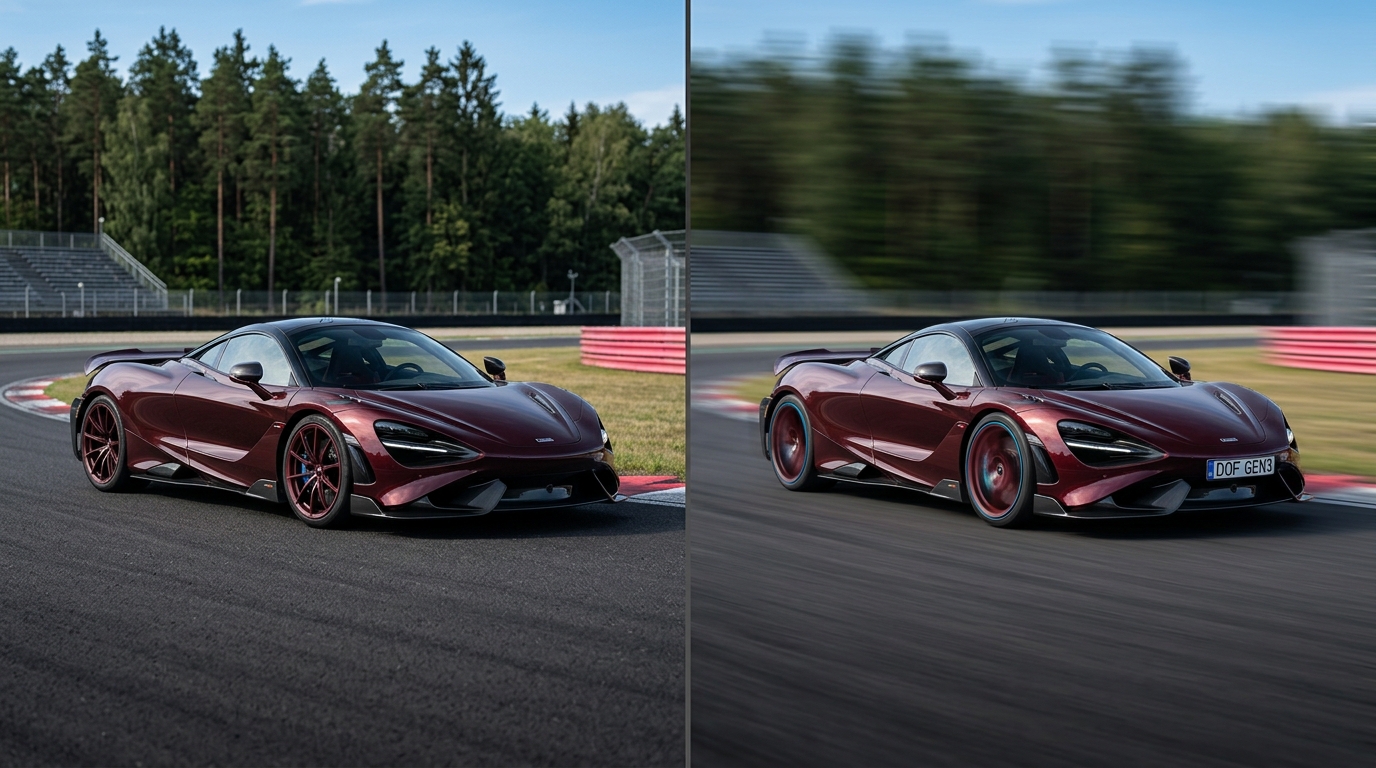
Consequently, creating high-quality gen-3 ai video requires precise motion blur. You can add terms like ‘motion blur’ or ‘high shutter speed’ to text prompts. ‘Rapid pan’ also helps the AI generate natural blur. However, dedicated Camera Controls give better results.
Therefore, you should always combine text with slider adjustments. This gives you the ultimate control over the final video.
Maintaining Visual Continuity
Enterprise videos need consistency across many shots. Therefore, maintaining exact lens traits helps preserve Visual Continuity. It keeps the story flowing smoothly.
Additionally, you must strictly document your prompt settings. Keep a log of every lens and aperture used. If scene one uses a 1/48 Shutter Speed, scene two must match.
Otherwise, the audience will notice the mistake. Consequently, strict adherence to these rules is mandatory. It ensures your final product meets professional TV standards.
The Impact of Cinematic Settings in Gen-3 AI Video
Data proves that optical realism matters. Indeed, it directly impacts audience engagement. A 2025 industry study by the Synthetic Media Consortium proved this fact.
The study found that accurate depth of field increases viewer retention by 42%. Videos with precise virtual camera settings did even better. They saw a 55% drop in viewer bounce rates.
Additionally, enterprise studios reported big efficiency gains in 2026. Teams using strict descriptive prompting saved a lot of time. They reduced post-production edits by 60%.
Therefore, mastering gen-3 ai video settings is a strict business need. Proper settings ensure brand compliance. They avoid the “uncanny valley” effect that scares away customers.
The AI Camera Lens Cheat Sheet
To speed up your workflow, use a standard reference guide. A cheat sheet maps real-world lenses to text prompts. It makes prompting much faster.
For example, it pairs “24mm lens” with “deep focus, wide angle.” It pairs “85mm lens” with “portrait, blurred background.”
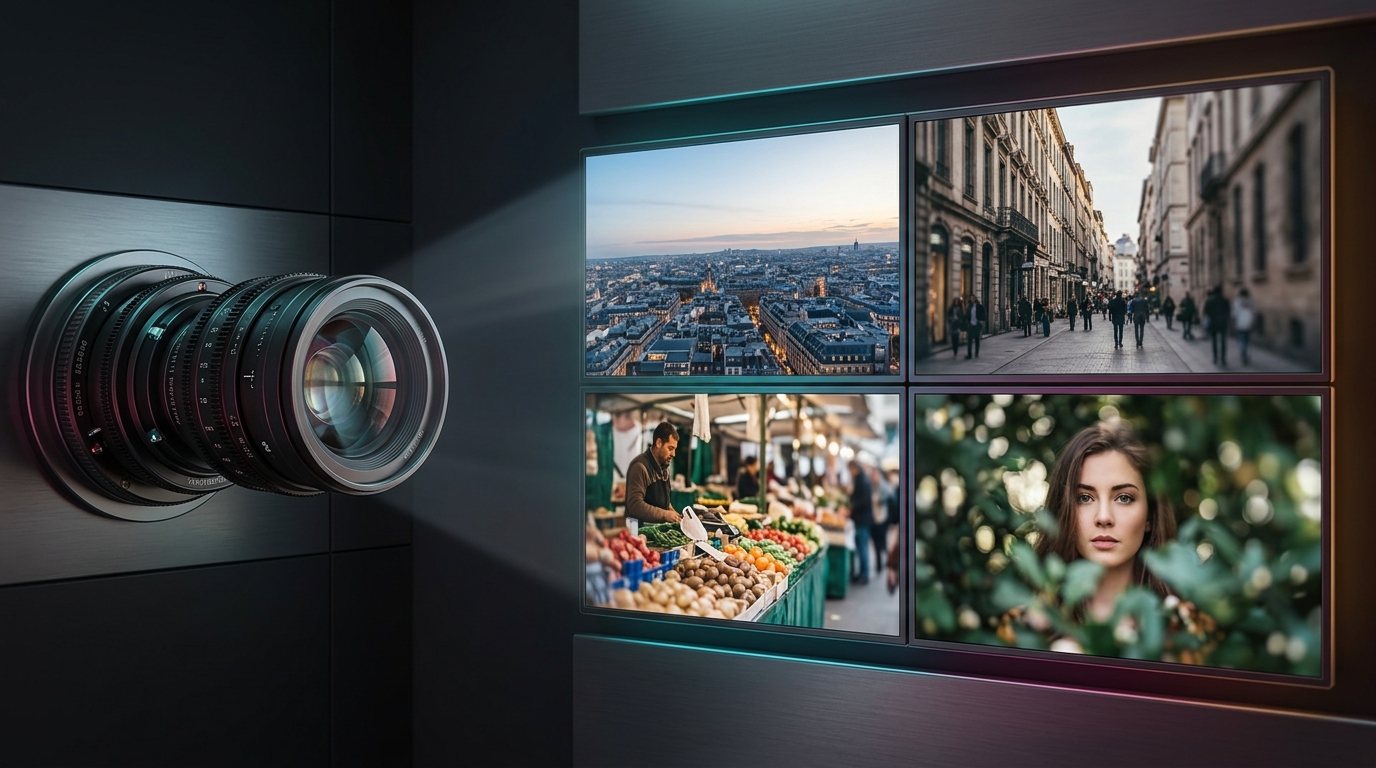
The guide also details shutter speed words. It contrasts “1/24 sec” for heavy blur against “1/1000 sec” for crisp action. Professional video editors can quickly find the exact keywords they need.
Consequently, pin this visual guide near your desk. It guarantees consistent prompting across your whole team. Everyone will stay on the same page.
Conclusion
Achieving perfect depth of field takes technical discipline. First, you must learn the basics of optical physics. Next, you must apply precise descriptive prompting to your models.
Using advanced camera controls ensures accurate motion blur. It brings true cinematic realism to your projects. Maintaining visual continuity is vital for enterprise creators.
Always test your settings in photo mode before rendering animations. Treat AI generation like a physical film set. This lowers production risks and saves money.
We urge you to use these exact prompting techniques today. Start playing with specific focal lengths. Elevate your synthetic media to professional broadcast standards right now.
Frequently Asked Questions
What is the best focal length for AI portraits?
For natural-looking portraits in AI video, an 85mm or 50mm lens is ideal. These focal lengths mimic human vision and provide a flattering compression of facial features while allowing for a smooth, blurred background.
How do I fix robotic movement in my AI videos?
Robotic movement is usually caused by a lack of motion blur. To fix this, add terms like “1/48 shutter speed” or “cinematic motion blur” to your prompt. You can also use dedicated shutter sliders in your AI video platform to smooth out the motion.
Why should I test in photography mode first?
Generating full video takes a lot of computing power and time. By testing your prompt in a still photography mode first, you can verify the lighting, depth of field, and composition instantly. This saves enterprise studios thousands of dollars in wasted rendering costs.
What does aperture do in an AI prompt?
Aperture controls the depth of field. A low number like f/1.4 will make the background very blurry, isolating your subject. A high number like f/11 will keep both the foreground and background in sharp focus, which is great for landscapes.